Getting started with MongoDB on Windows is very easy.
To install MongoDB on your workstation, just follow these three simple steps:
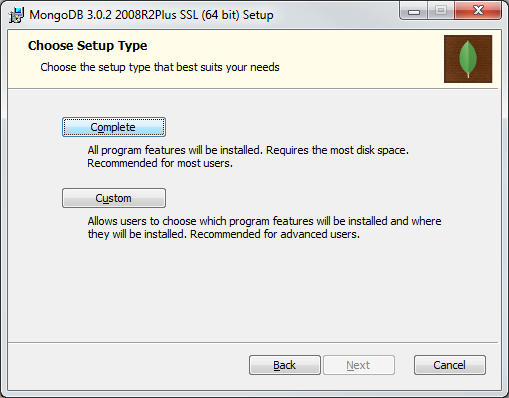
1. Run the MongoDB MSI installer
For Windows 7, you want the version named "Windows 64-bit 2008 R2+" located here. For Windows 7 and Windows Server 2008 R2, it is also recommended that you install this hotfix from Microsoft dealing with memory-mapped files. More information is available here.
Choose the "Complete" setup option.
2. On your C: drive, create a folder called "data", and within that, another folder called "db"
For example, at the command prompt just enter:
C:\>mkdir c:\data\db
3. Tell MongoDB to run as a Windows Service
From a command prompt, set your current working directory to the folder where you just installed MongoDB. If you used the typical, default installation options, then the command would be:
C:\>cd "C:\Program Files\MongoDB\Server\3.0\bin"
Now that you are in the MongoDB "bin" folder, tell the Mongo "daemon" process (mongod) to install itself as a Windows Service:
C:\Program Files\MongoDB\Server\3.0\bin>mongod --install --logpath c:\data\log
And finally, start the MongoDB service:
C:\Program Files\MongoDB\Server\3.0\bin>net start MongoDB
You should see the message that "The MongoDB service was started successfully." MongoDB will now be running on your workstation and available at all times, even after you reboot.